这次给大家带来jquery拖拽效果实现方法,jquery拖拽效果实现的注意事项有哪些,下面就是实战案例,一起来看一下。
运行效果截图如下:
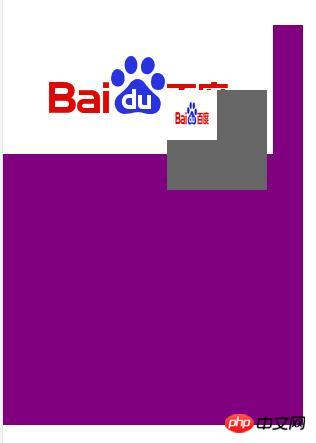
点击此处查看在线演示效果。
具体代码如下:
html部分:
@@##@@
jquery部分:
(function(){
 $.fn.extend({
  tuoz:function(){
  return this.each(function(){
    var $this=$(this);
    var ey="";
    var ex="";
    var mx="";
    var my="";
    var tx="";
    var ty="";
    var small_x="";
    var small_y="";
    var big_height="";
    var big_width="";
    var big_x="";
    var big_y="";
    var move="false";
    $this.mousedown(function(e){
     move="true";
     mx=$this.offset().left;
     my=$this.offset().top;
     ex=e.clientX;
     ey=e.clientY;
     tx=ex-mx;
     ty=ey-my;
     small_x=$("#big").offset().left;
     small_y=$("#big").offset().top;
     big_height=$("#big").height();
     big_width=$("#big").width();
     big_x=small_x+big_width;
     big_y=small_y+big_height;
     })
    $(document).mousemove(function(e){
      ex=e.clientX;
      ey=e.clientY;
      if(move=="true"){
      $this.offset({left:ex-tx,top:ey-ty});
      }
      })
    $this.mouseup(function(e){
      move=false;
      ex=e.clientX;
      ey=e.clientY;
      if(ex>=small_x && ey>=small_y && ex<=big_x && ey<=big_y){
    $("#big").append($this.html());
    }
      $this.offset({left:mx,top:my});
      })
    })
  }
  })
})(jQuery)
相信看了本文案例你已经掌握了方法,更多精彩请关注php中文网其它相关文章!
推荐阅读: